|
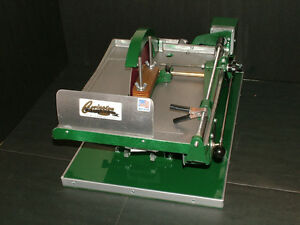
TRIM SAW
|
 |
|
STEP 1
|
| Put on apron as saw will splash oil. |
|
STEP 2
|
| Determine the shape to be made, freefrom or conventional. Let the slab talk to you. Use template and scribe the outline of your intended finished product on slab. Preferably front and back using awl, nail, brass pick, etc. |
|
STEP 3
|
| Proceed to trim saw. Check for oil lift on blade after turning unit on. Proceed with cutting away outside of marked area, holding slab flat on table of saw. Several small cuts are preferable to large ones for chunk removal. Do not force slab into saw and let the saw do its work. Do not twist slab while engaged with blade, as this will damage blade and could break slab. If in an error during cut, back out away from blade and reorient the slab with blade for a new cut. Cut to within 1/8" of scribe lines. Don't worry about rough or jagged edges. These will easily be ground away, unless large in size, then recut. |
|
STEP 4
|
| Turn off saw, removing scrap material left on saw table. Wash preform cab with water and dawn detergent to remove cutting oil. |
|
STEP 5
|
| Choose the top of the cab and after drying. Mark the dome center with marker or paper. This aids in determining shape during the grinding and sanding steps. |
