|
The Basics of How to Cab a Stone A Step-by-Step Guide
|
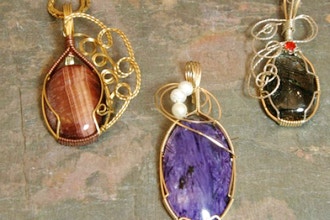
What is “cabbing”?Cabbing is the process of making cabochons, or “cabs” for short. It also happens to be the most popular form of gem cutting. Cabbing gets its popularity because anyone can master this lapidary art, just by trying. With the right equipment and a little creativity, you’ll find that cabbing is very self-rewarding. So you may be asking now, what are cabochons? Cabs are stones that are cut and polished with a convex, rounded top. They can be fashioned into many different symmetrical shapes, such as ovals, squares, rectangles, hearts and free-form organic shapes. The most common use for cabochons is to make jewelry pieces, such as necklaces, bracelets, earrings, cuff links, etc.
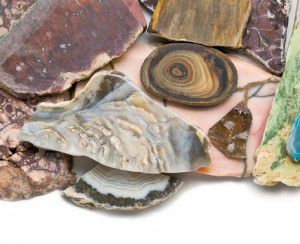
Step 1: Select your materialNot all stones are created equal. They vary in hardness, which affects what cabbing techniques you use. Before you select your material, get familiar with the Mohs scale. Knowing your material’s hardness will yield the best results. Select your slab of rock material. Slabs are large, flat pieces of stone that are available online or at your local rock shop. Going to a rock mine is a fun way to find your own rocks to cab. Try to choose slabs that are free of fractures, pits and cracks, which can cause the stone to split during the cabbing process. Shown here is a slab of malachite.
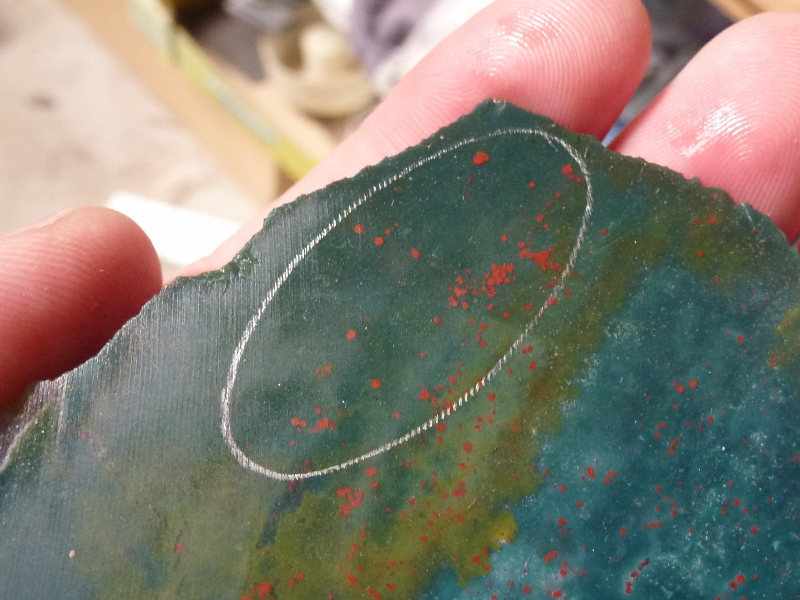
Step 2: Prepare the stoneAll cabochons have two sides, the top and the bottom. The top is curved and polished into a dome. The bottom is usually flat and finely sanded, making it easy to insert into jewelry findings. Since the top is displayed, identify a section of your slab that has interesting designs, colors and patterns. Before marking the outline of the cabochon’s shape, consider whether you’ll use this slab for multiple cabochons. If so, leave some space in between the shapes, shown on a slab of red agate below or there won’t be enough room for trimming and grinding, which can potentially ruin both cabochons. Use gemstone templates to draw the outline of the shape you want to create with a fine-point permanent marker. If you’re a beginner, we suggest you start out with basic shapes such as circles or ovals.
Step 3: TrimNow that your cab is outlined, it’s time to cut out the shape. Using a trim saw, cut close to the template line, but not on it. Cut straight lines only. Never attempt to cut curves with the saw blade. Allow about 1/16” space around the template line for the material that will be removed during grinding, sanding and polishing. This line is a guide and should still be visible once trimmed. While you trim away the excess material, do so in a manner that will maximize the remaining rough stone. This excess material could be used for other projects, so don’t be in a hurry to discard it. Once you are done trimming your cabochon, wash it in warm, soapy water to remove any oil or dirt produced from the trim saw.
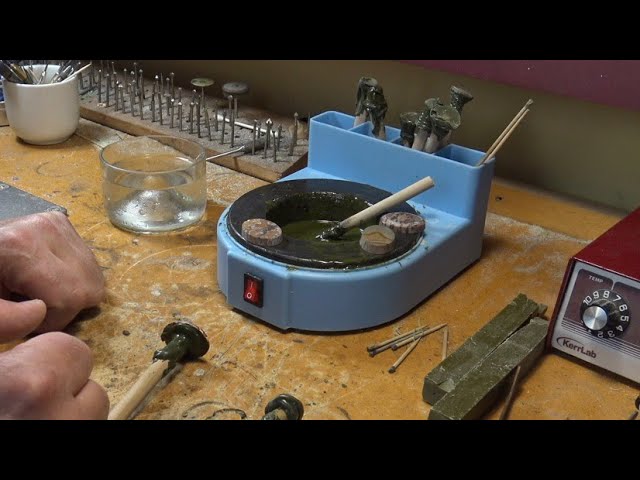
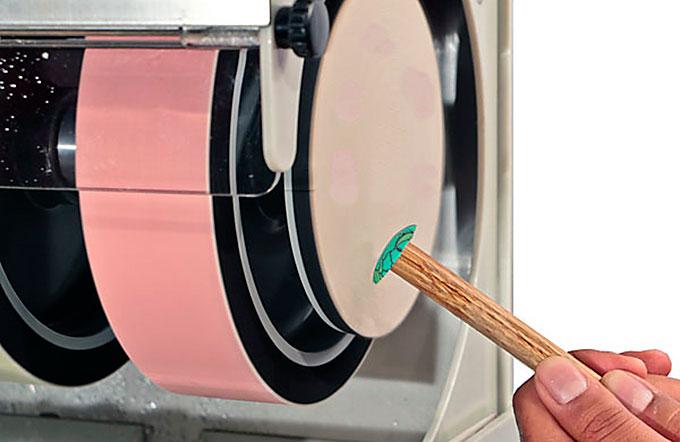
Step 4: DopThe dopping method provides a way to hold your stone while cabbing, which gives you easier control over your cabochon while grinding and polishing. It secures your stone to a stick using a special dop wax as the adhesive. Dopping is a good method to use if you’re polishing smaller or delicate cabs. It also saves your fingers from unnecessary abuse. You will need a dop pot, dop wax and dop sticks to perform this step.
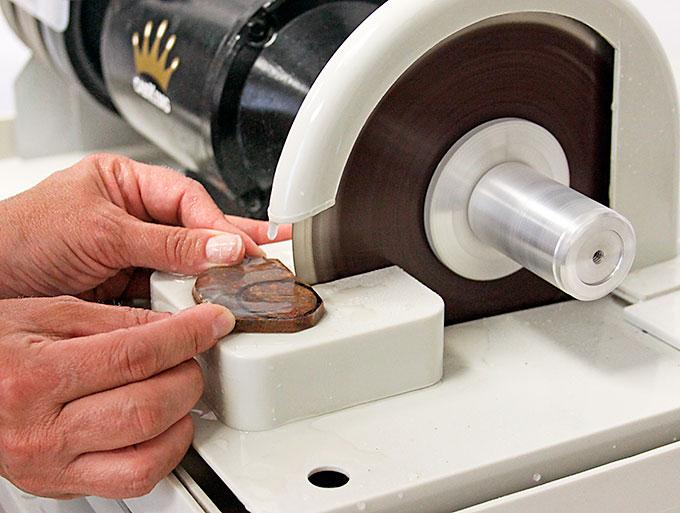
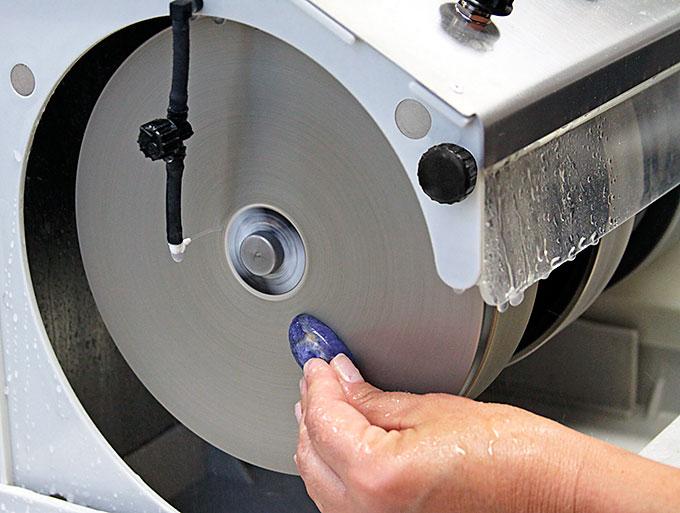
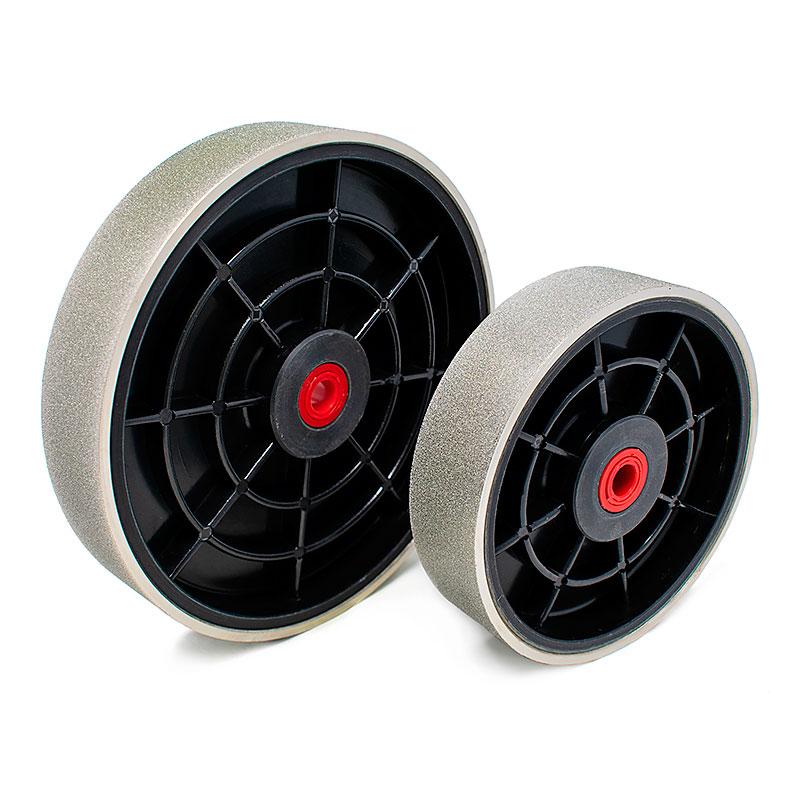
Step 5: Rough grindRough grinding removes excess material left from the trim saw and any irregularities found in the stone so it can be successfully smoothed and polished. It also shapes your cabochon and prepares it for the next step. Before we move on, you need to have an understanding of what grit means. Grit generally refers to the size of particles embedded in an abrasive material. In cabbing terms, the particles that are embedded in abrasives are usually diamonds. The finer, smaller diamonds are used for surface finishing while the larger diamonds are used to shape and remove excess material. For example, an 80-grit wheel is a very coarse wheel with large diamond particles, while a 3,000-grit wheel is a very fine wheel with small diamond particles. The initial, rough grind is usually done with a coarse wheel, such an an 80-grit diamond grinding wheel. Completely grind the surface of the stone using the lower quarter of the wheel and the whole width to ensure even wear. Don’t grind too close to your template line because more material will be removed as you move on to the fine-grinding and smoothing stages. Once you’re done with this coarse wheel, dry your cabochon with a paper towel or clean rag to reveal the scratches. These scratches slowly diminish with each wheel. Drying and inspecting your cabochon after each wheel is an important step and shows your progress. 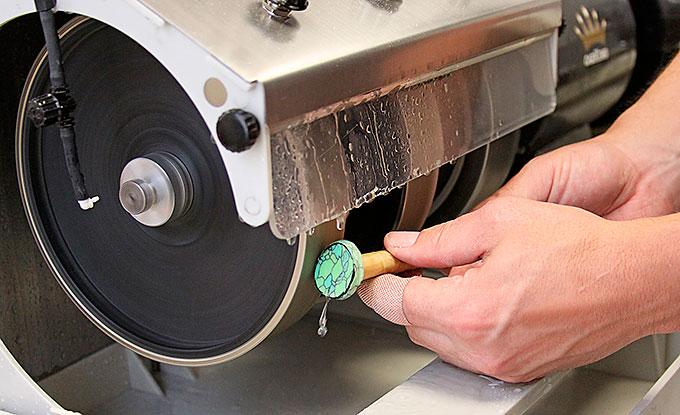
Step 6: Fine grindFine grinding is performed with a wheel that has a higher grit than the previous step, such as a 220-grit diamond grinding wheel. This wheel continues to shape your cabochon and removes the scratches left on your stone from the wheel before. Just like the previous step, completely grind the surface of the stone. Once you’re done, dry your cabochon and inspect. Make sure it’s symmetrical and has the proper curvature. Also make sure the coarse scratches from the previous wheel are removed. This is a very important step. If you don’t get all of the scratches out from the previous wheel, you’ll have to start all over or settle for a low-quality polish finish. 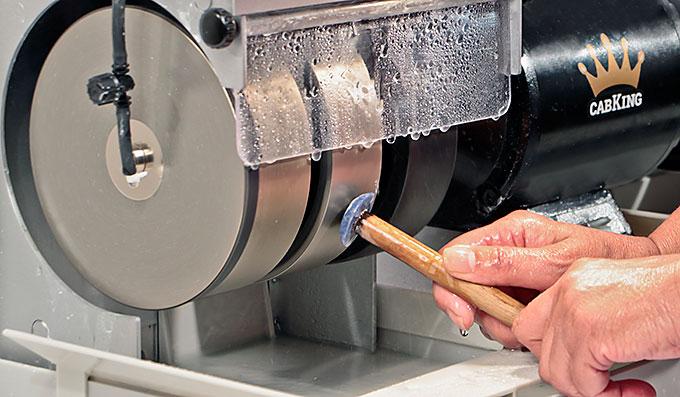
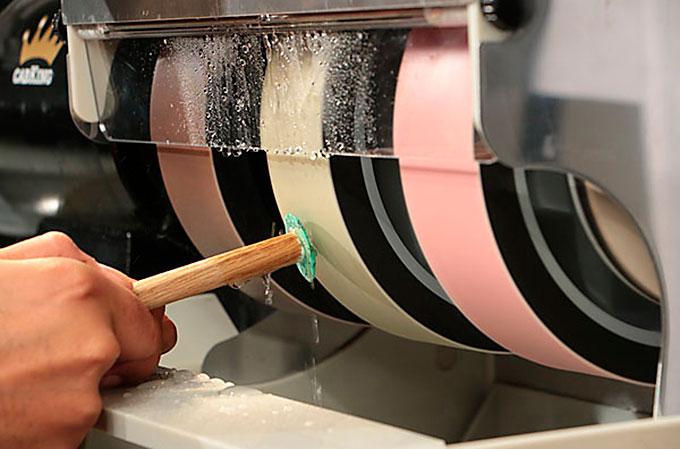
Step 7: SmoothThis step is usually done using diamond resin wheels. Resin wheels sand and smooth flat spots, scratches and tiny bumps that are left behind from the hard grinding wheels, resulting in a pre-polished cabochon and preparing your stone for its final polish. Before you start this and every step, thoroughly wash your hands and stone. Any grit carried over into the smoothing process will cause deep scratches in your cabochon that are impossible to polish out. Start with the coarsest diamond resin wheel, such as a 280-grit, then proceed to the 600-grit, 1,200-grit and 3,000-grit wheels. Thoroughly sand and smooth the entire surface of the stone on each wheel before moving onto the next wheel. Always dry your cabochon and inspect the scratches after each wheel. By the time you finish on the 3,000-grit wheel, the surface of your stone should be very smooth with no visible scratches at all.
Step 8: PolishThere are many different polishing methods that can be very confusing for beginners. Many cabbing machines come with a polishing kit that is universal and works for most material. That’s a good place to start if you’re unfamiliar with different polishing agents, methods and pads. The most common polishing agents used in lapidary work are Tin Oxide, Cerium Oxide, Chromium Oxide and Diamond Paste. These polishing agents are applied to canvas pads, felt pads or leather pads. Because the canvas pad is not pre-charged, you need to charge it with the Diamond Paste before use. Do this by applying the paste in a series of small dots with your fingers, randomly throughout the pad starting from the center of the pad, moving to the outer edge of the pad. Smear the small dots into the canvas pad. Now that the canvas pad is charged, it is ready for the polishing sequence. Polish the entire surface of the stone until you reach your desired polish. If you notice that the pad is no longer polishing, you’ll need to apply more Diamond Paste to the pad. Using water during this step is not required. If you’re polishing heat sensitive material, your cabochon can overheat. To avoid overheating, use a small amount of room temperature water to cool your cabochon. Do not use COLD water, as it could crack you cabochon. Dry off your stone completely before continuing.
Step 9: Finish the stoneIf you used the optional dopping method, remove your cab from the dop stick. An easy way to do this is by putting your cabochon and dop stick in a freezer for 10–15 minutes then peel the wax off of your stone. It should pop right off from the dop stick. If you see any remaining wax left on the cab, carefully scrape it off using a clean, sharp knife. If you’ll be inserting your cabochon into a jewelry-making component, you’ll need to flatten the back side of the stone. Using a diamond lap, grind the back side of your stone until it’s flat with either a flat lap machine or a cabbing machine that can attach a diamond lap as shown below. If you choose to polish the back side of your cab, we suggest using the dopping method and attaching the dop stick to the top side of the stone. Repeat the cabbing process then remove the dop stick.
Step 10: Show off your creations!Send photos of your finished designs to info@, and we’ll feature you on our member gallery page. Include your name and/or company name, material polished and website URL so we can properly credit you. We look forward to showcasing your work!
|